Connecting to Wifibri via PPPoE on Windows
Windows can connect directly to the Wifibri network using PPPoE.
This guide was created using Windows 10. Some screens may look slightly different on other versions of Windows.
Step 1: Open Network Settings
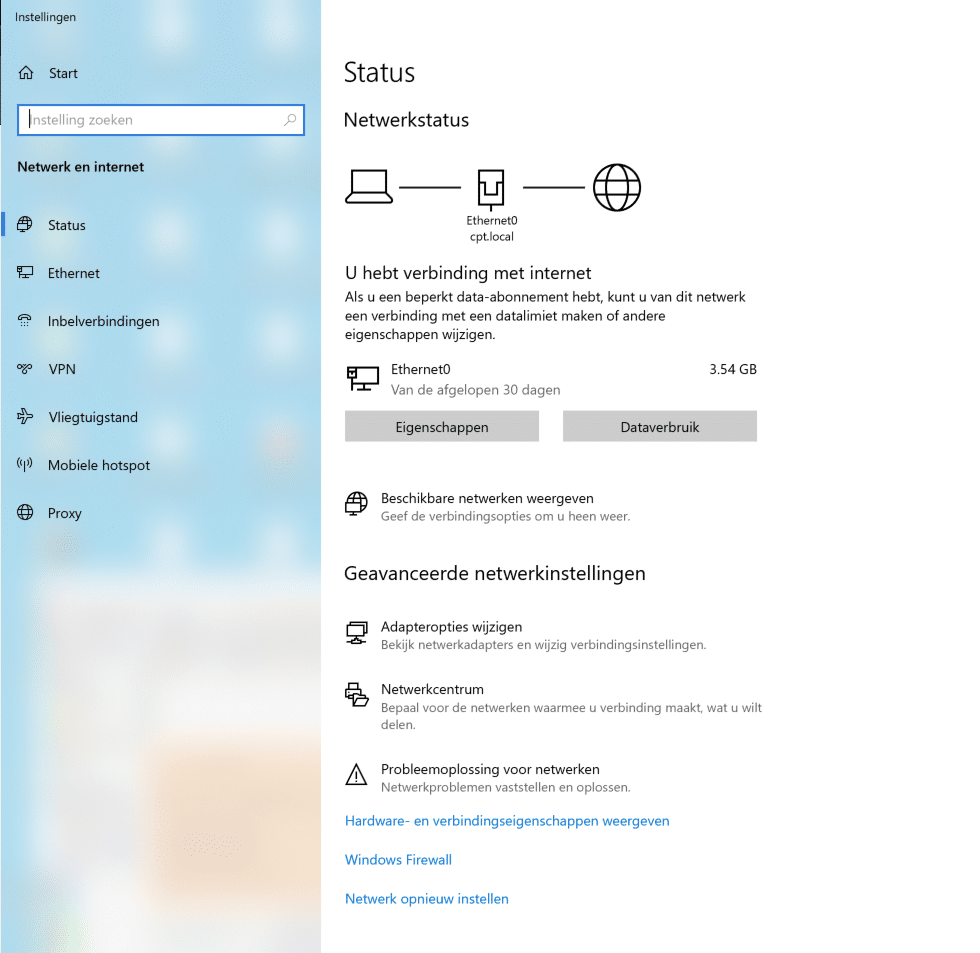
Click the network icon in the taskbar and select Network & Internet Settings.

You will be taken to the following menu.
Step 2: Open Dial-up Settings
Click Dial-up in the menu on the left.
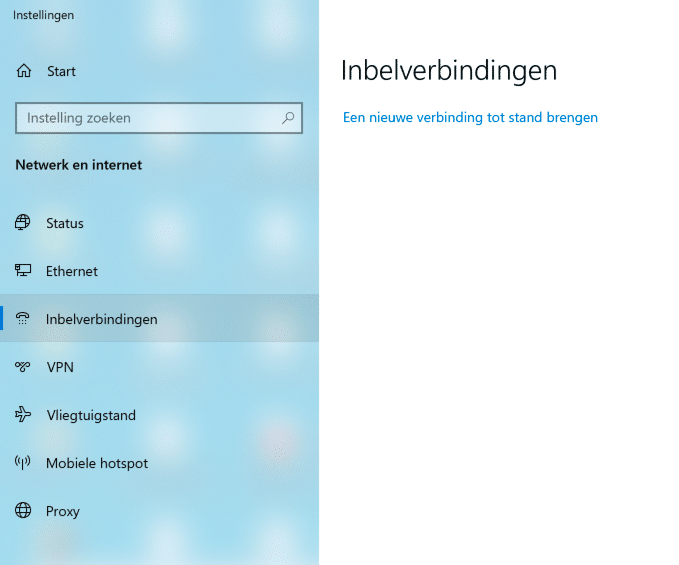
Then click Set up a new connection.
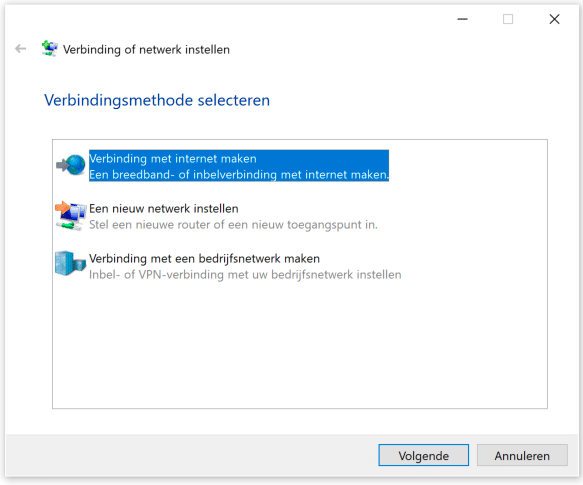
Step 3: Choose Connect to the Internet
Select Connect to the Internet.

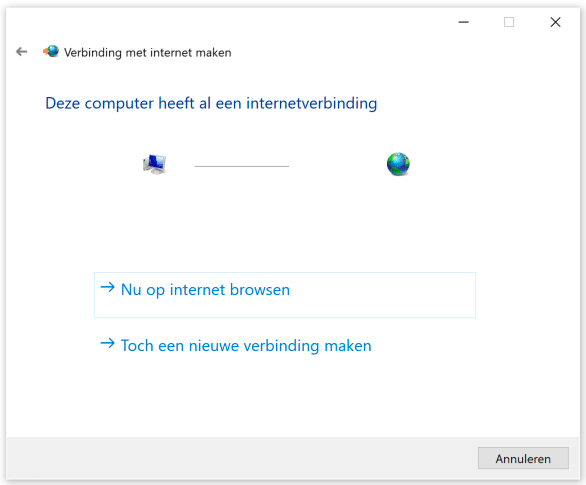
If Windows reports that an internet connection already exists, select Set up a new connection anyway.
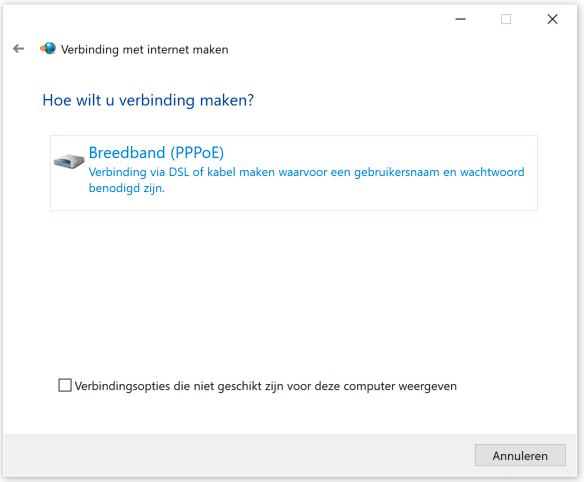
Step 4: Select PPPoE
Choose Broadband (PPPoE).
Step 5: Enter Your Wifibri Credentials
Enter your Wifibri username and password.
Make sure to enable Remember this password.
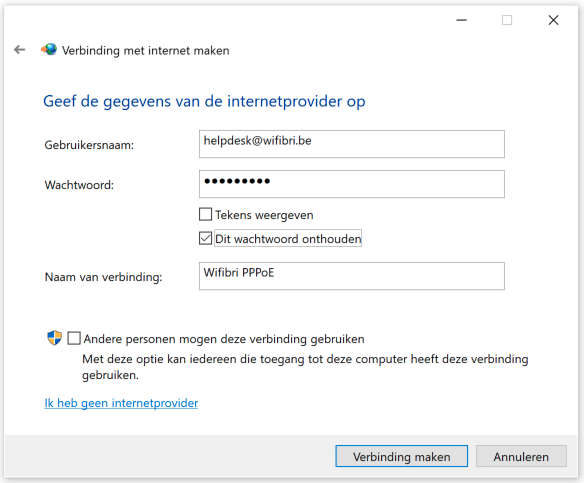
Click Connect.
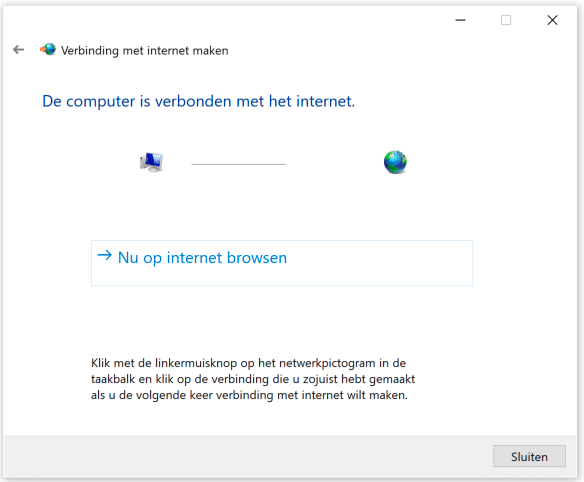
Step 6: Verify the Connection
Windows will now attempt to establish the connection.
If everything is configured correctly, the following confirmation message will appear.
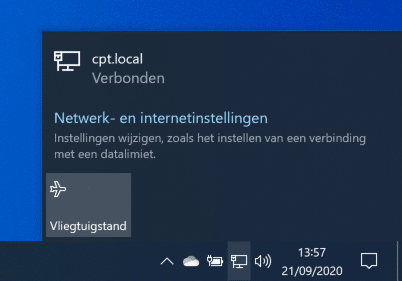
Connecting in the Future
Once the connection has been created, it will appear in the list of available network connections.

Click the connection.

Then select Connect.

When the connection is active, the status will change to Connected.
Troubleshooting
If the connection cannot be established, check the following:
- The network cable is connected properly.
- Your username has been entered correctly.
- Your password has been entered correctly.
- Your Wifibri account is active.
If the problem persists, please contact the Wifibri helpdesk.