Configuring a Linksys Smart Wi-Fi Router
This guide explains how to connect your own router to the Wifibri network using a PPPoE connection.
As an example, we use a Linksys WRT1200AC router running Linksys Smart Wi-Fi.
The exact names of menus and settings may vary depending on the make and model of your router. If necessary, consult the documentation provided by the manufacturer.
Requirements
Before you begin, make sure you have:
- A router that supports PPPoE
- An active Wifibri account
- Access to the Wifibri network
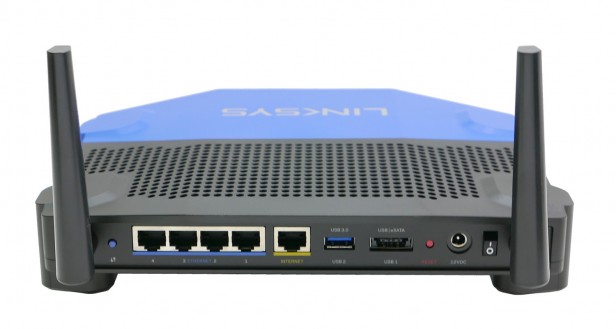
Step 1: Connect the Router
Connect the router’s WAN port to the Wifibri network.
On this router, the WAN port is labeled Internet.
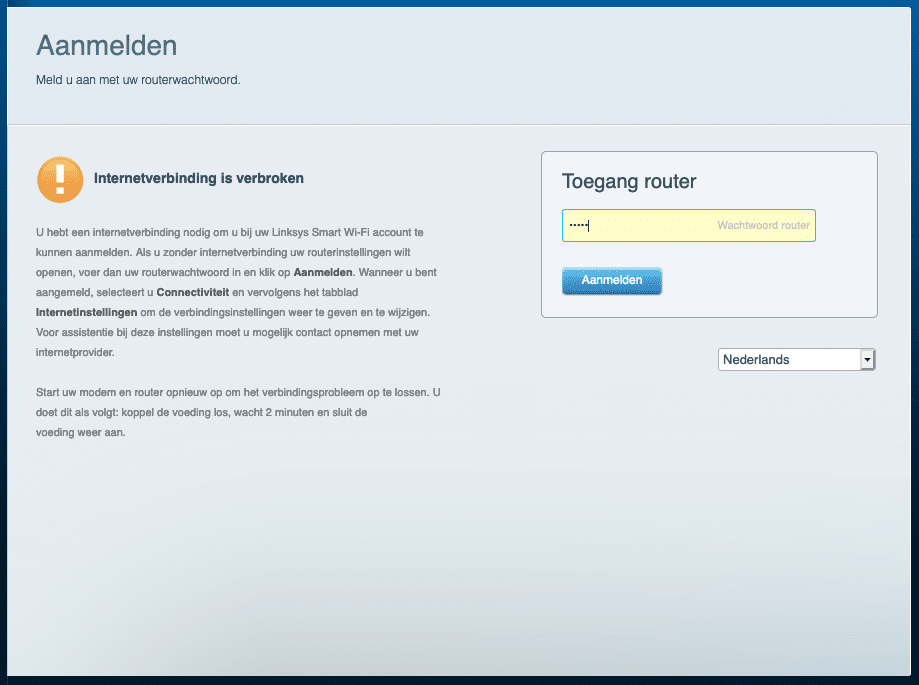
Step 2: Log In to the Router
Open a web browser and navigate to the router’s IP address.
Log in using the router’s username and password.
Step 3: Open the Configuration Menu
After logging in, you will be taken to the router dashboard.
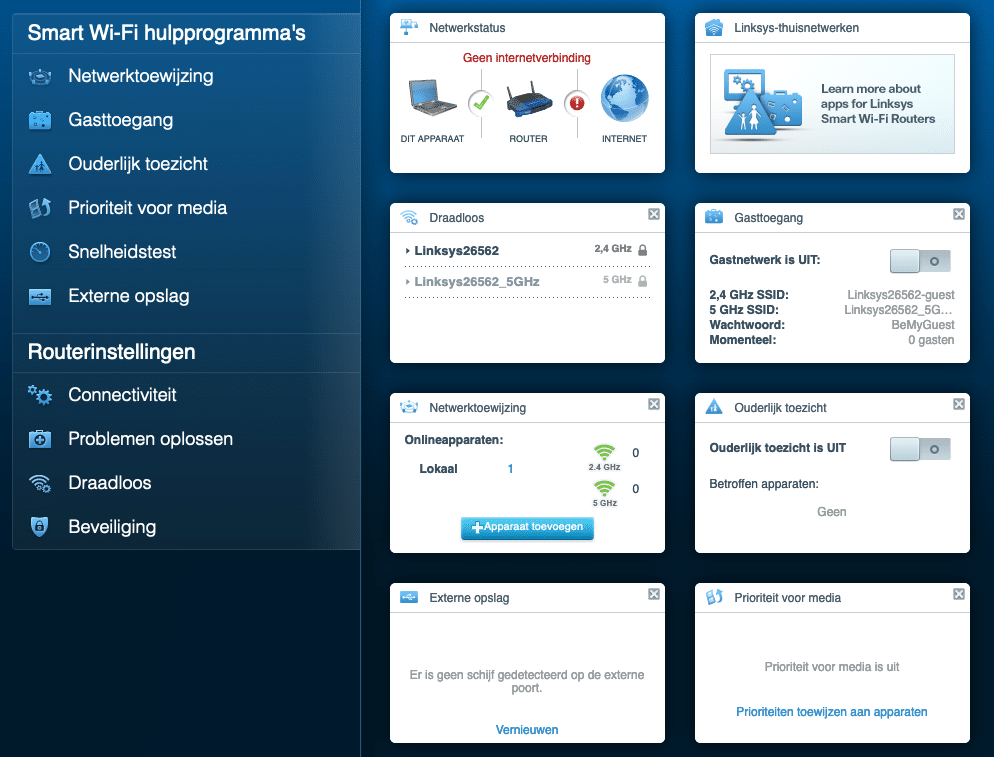
Navigate to:
Router Settings → Connectivity
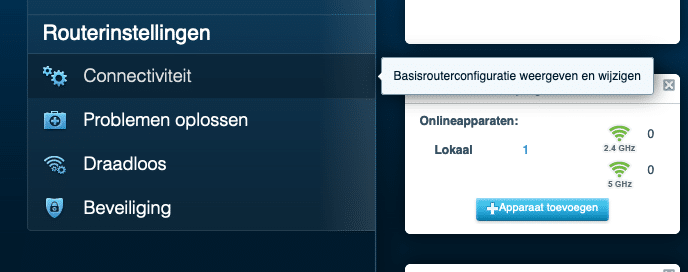
Step 4: Open Internet Settings
In this menu, you will find the settings used to connect the router to the internet.
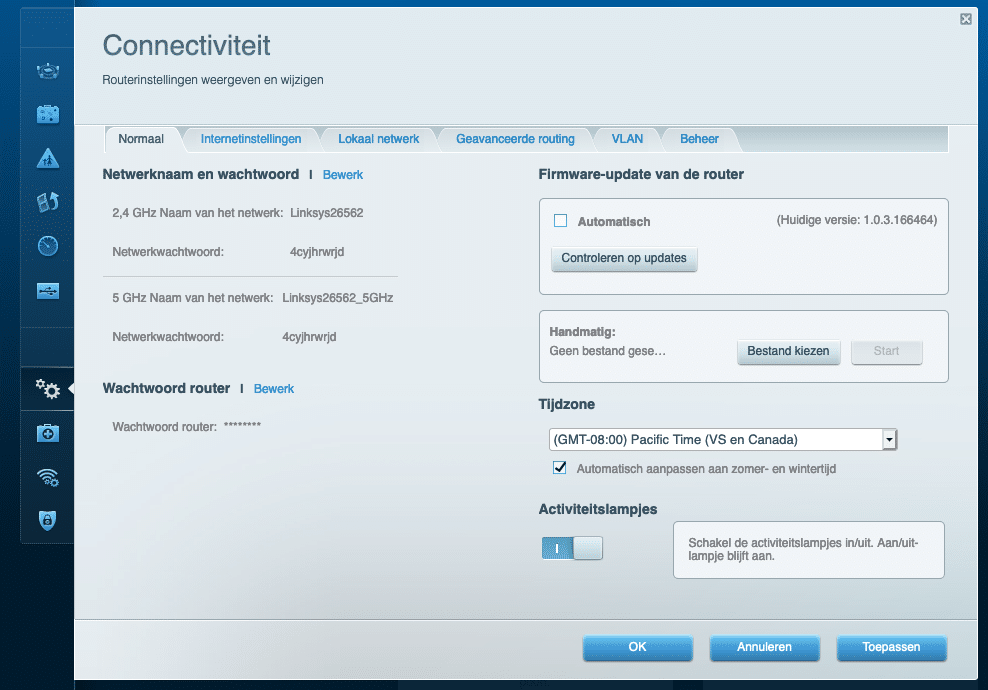
Select the Internet Settings tab.
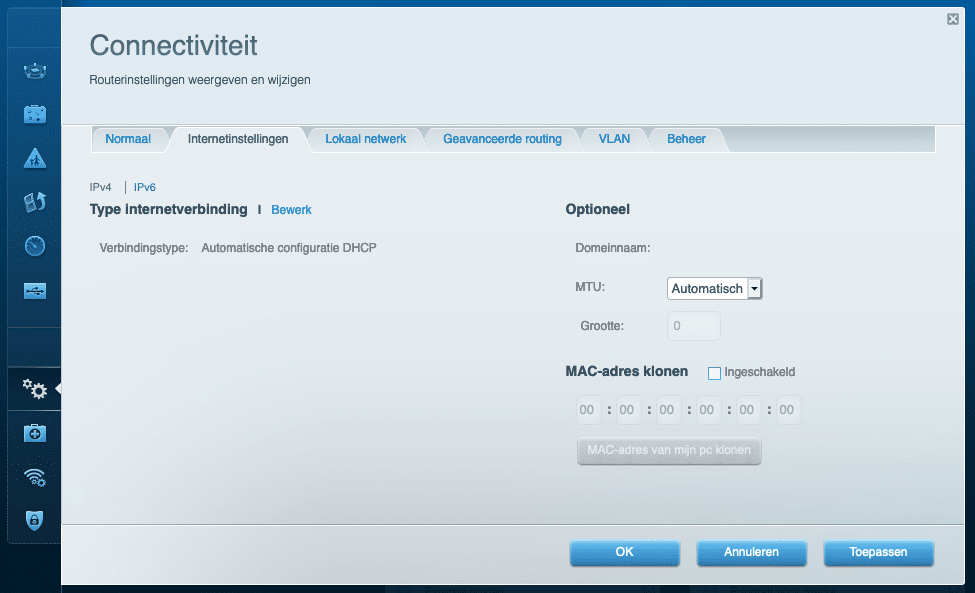
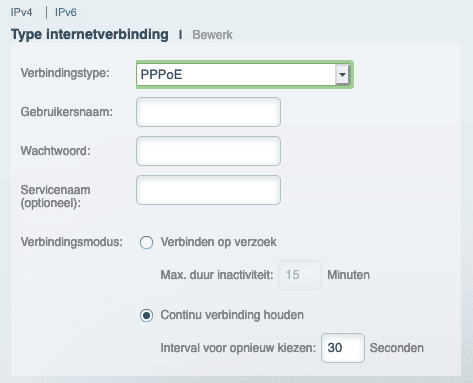
Step 5: Select PPPoE
By default, the connection type is usually set to DHCP.
Click Edit and change the connection type to PPPoE.
Step 6: Enter Your Wifibri Credentials
Enter your Wifibri username and password.
Leave all other fields blank unless instructed otherwise by Wifibri.
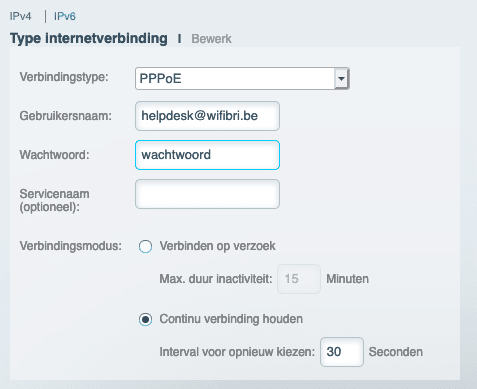
Click Apply or Save.
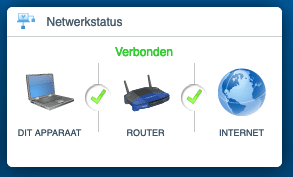
Step 7: Verify the Connection
After a few moments, the router should establish an internet connection.
If everything has been configured correctly, the router will show an online status.
Next Steps
Your internet connection is now active.
You can now:
- Configure your own Wi-Fi network name
- Set a Wi-Fi password
- Create guest networks
- Enable parental controls
- Connect additional network devices
Refer to your router’s manual for instructions on configuring these features.